
Most of the items that get thrown up in my recycling bin could have been used as garden décor. An old mug, a few drink jars, and a broken teacup are all inexpensive and look better in a garden than in a trash. Whether you have a smaller garden, patio, balcony, or courtyard, recycled materials can help you make your space greener and cozier without spending your money.
These 25 DIY garden ideas on a budget using recycled items are perfect for beginners, families, and gardeners who want to make the most of what they already have. Many discarded objects, such as wooden crates, broken pots, plastic bottles, and old tin cans, can find a new use in your garden.

Before you begin, below are a few brief guidelines to avoid problems later on:
- Create drainage holes in any structure that can accommodate a plant. Roots deteriorate more quickly when standing water is present.
- Tape or sand the edges of cut glass, cans, and bottles. The most common reason these projects fail is a sharp rim.
- Paint anything that will be exposed to rain and sun with weatherproof or outdoor paint. Plain craft paint fades within weeks.
- First, wash everything. Ants and flies are drawn to food waste.
Containers and Planters
1. Damaged Mugs and Teacups

Cost: free.
Although a teacup with a cracked handle is useless in the kitchen, it makes a great planter for trailing herbs or small succulents. Use a ceramic bit to drill a hole in the bottom, or if you water the soil sparingly, skip the hole and add a layer of stones underneath.
2. Painted Tin Cans

Paint cost: less than $2.
Paint the can with an exterior paint after cleaning it and making a few nail holes in the bottom. A simple herb garden can be created by placing a row of colored cans along a windowsill or fence. If the top rim is sharp, fold it over using pliers.
3. Outdated Sneakers and Boots

Free of charge.
By a door or on a step, a worn-out boot full of dirt and a few little flowers looks adorable. Make a couple of drainage openings in the sole. Rubber boots survive years outside, but leather and canvas only last a season or two.
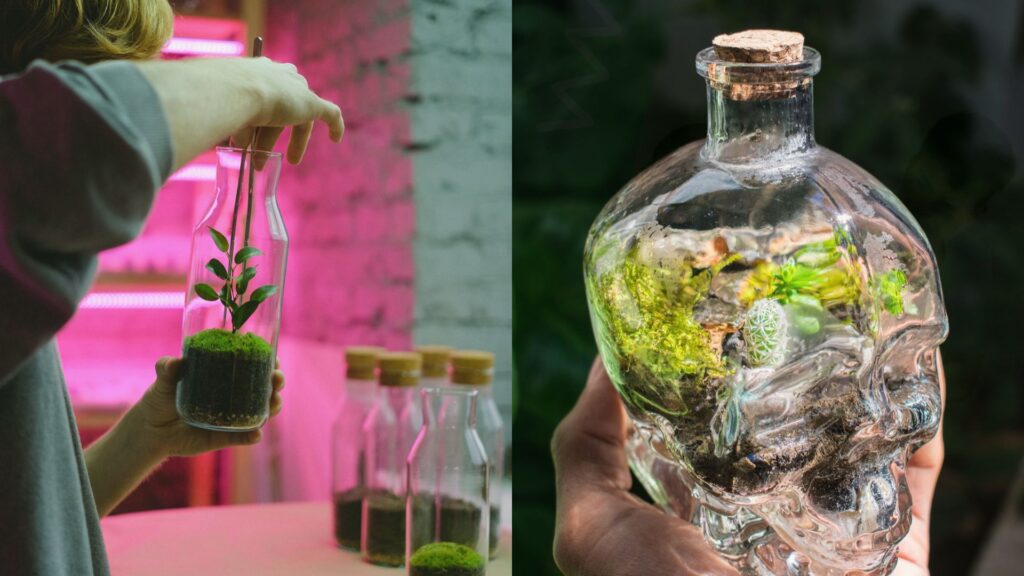
4. Terrariums, which are made of Glass Jars
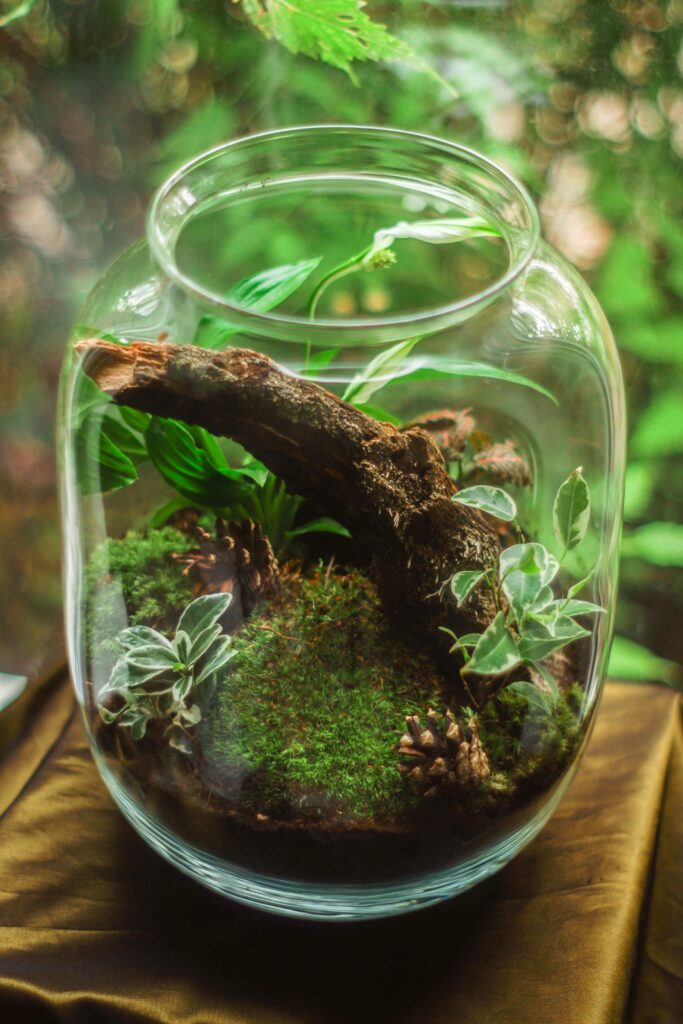
Price range: free to $2.
A small closed terrarium consisting of a layer of stones, soil, moss, or a small fern can be placed inside any wide-mouth jar. Keep it out of direct sun, because the glass heats up and cooks the plants.
5. Using Wooden Crates in a Tiered Arrangement

Using wooden crates in a tiered arrangementCost: free if you can purchase them from a fruit vendor or grocery store.
You may create a shelf for pots by stacking two or three crates at varying heights and tilting them slightly. If the wood is going to become wet, sand the rough areas and treat it with outdoor varnish.
6. Hanging Colander Planter
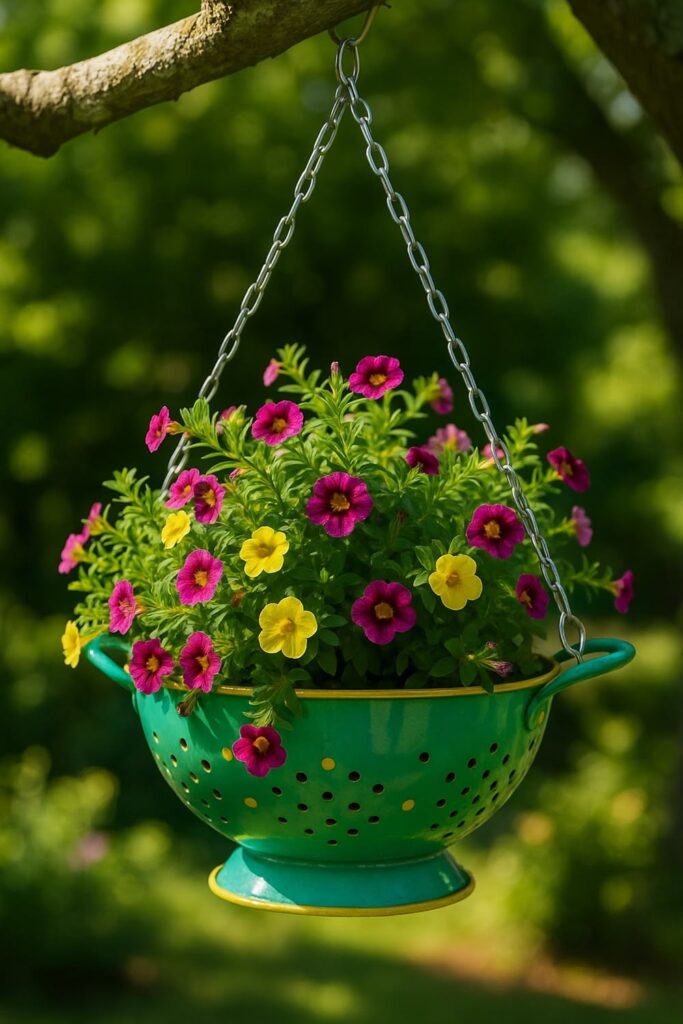
Price: free.
There are already drainage holes in a metal colander. Hang it with three pieces of chain or rope after lining it with an old cloth or piece of coconut fiber and filling it with dirt. It looks wonderful with trailing plants like sweet potato vines and spider plants.
7. Using an Old Drawer as an Elevating Bed

Free of charge.
A little bed of herbs or salad greens fits perfectly in a drawer from a damaged dresser. Drill a few holes, line the bottom with cardboard to contain the dirt, and place it on bricks to allow it to drain.
Paths and Borders
8. Broken Stepping Stones made of Mosaic Tile
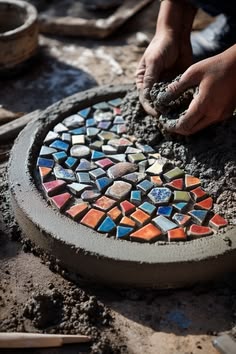
Cement costs between $3 and free.
Place pieces of shattered tile into a plastic tray or an old baking dish filled with wet cement. After two days, remove it, and you’ll have a stepping stone. Although it lasts for years, this one takes the longest on the list.
9. The Border of a Bottle Cork
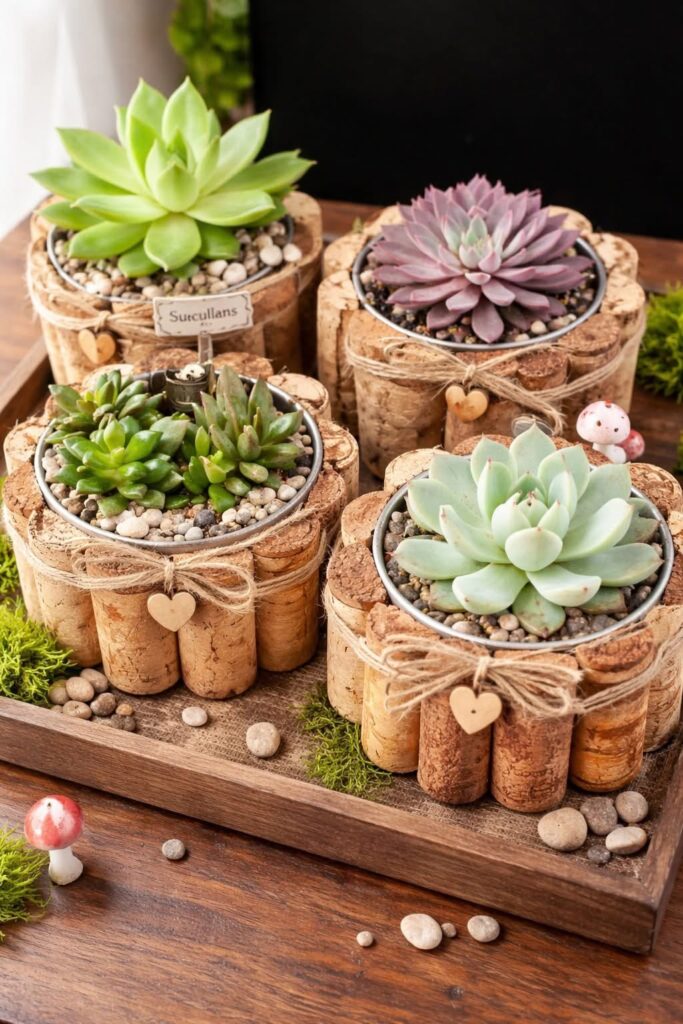
Free of charge.
Around a flower bed, place push corks erect and halfway into the ground. I would use this idea for a small, sheltered bed because they won’t survive more than a season or two under severe rain.
10. Bottle-Bottom Edge

Free of charge.
Glass bottles can be pushed neck-down into the ground in a line so that the bases create a light-catching border. I like that there is no need for cutting. For a tidier appearance, use identical-colored bottles.
11. Bottle Cap Track and Pebbles
Free of charge.
A simple path made of pebbles with bottle caps pressed into a design is sufficient for a tiny garden. When the caps are placed in a thin layer of sand, they remain in place even when it rains.
12. Decorations made of Shattered Plates and Seashells

Decorations made of shattered plates and seashellsFree of charge.
Around the base of potted plants, scatter seashells or fragments of a shattered pottery plate. Additionally, they prevent the plants from drying out too quickly by retaining moisture in the soil.
Furniture and Structures
13. Fence made of Popsicle Sticks
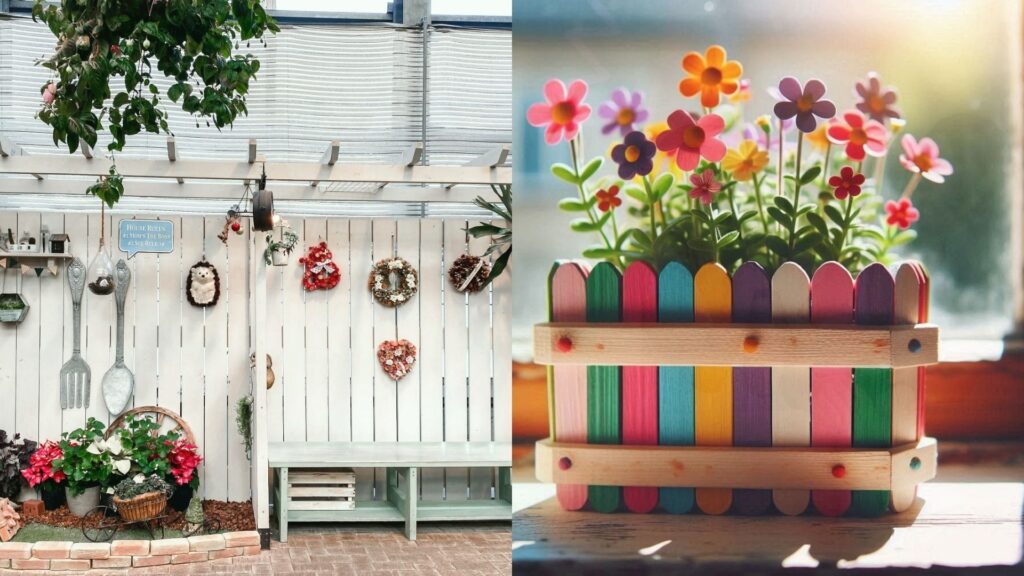
Glue costs less than $2.
Create a tiny fence panel by adhering craft sticks to two horizontal sticks, then painting it. Put it into the soil surrounding a potted herb or small garden. It’s a worthwhile project to work on with children.
14. Trellis made of Twigs
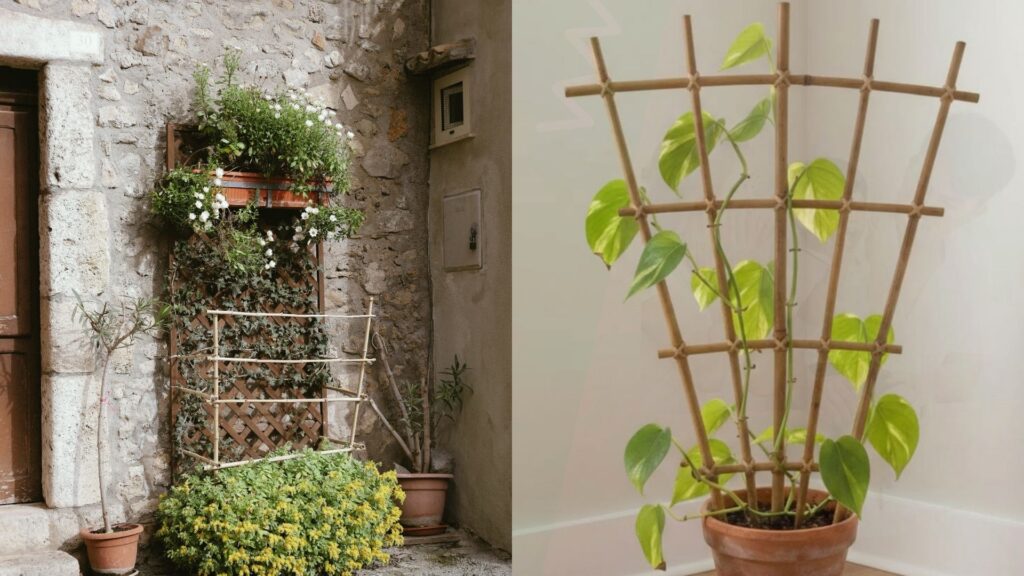
Free of charge.
Using garden twine or strips of used cloth, tie straight twigs into a grid. Place the ends in the ground adjacent to a bean or climbing pea plant. This type of trellis only needs to survive one growing season.
15. Tables and Stools with Bottle Caps
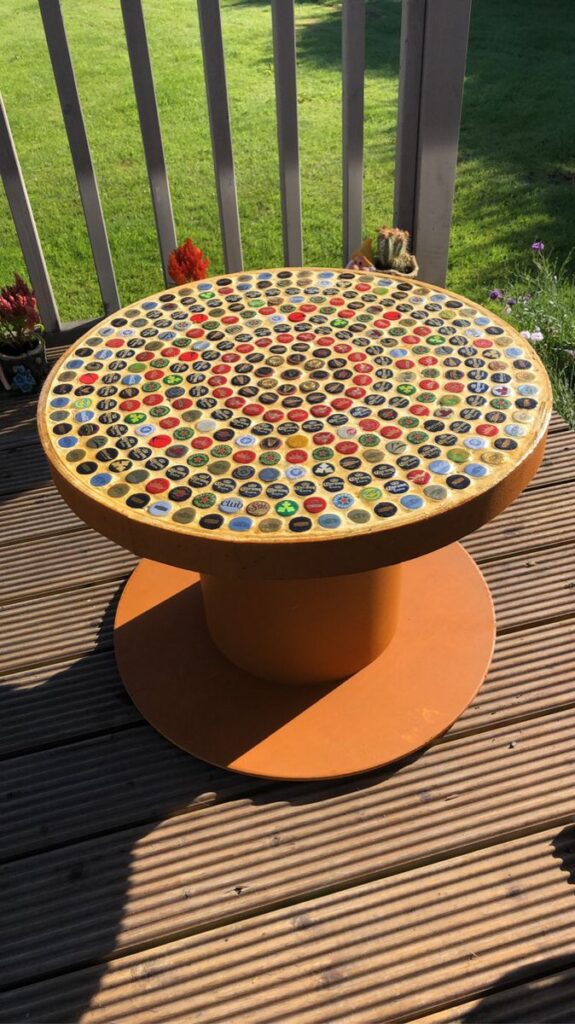
Free of charge.
Large bottle caps or jar lids can be pasted to a thin circle of wood for a table or a small cork or short dowel for a stool. These take around ten minutes each and are placed in a fairy or miniature garden.
16. Plant Markers made of Wooden Spoons
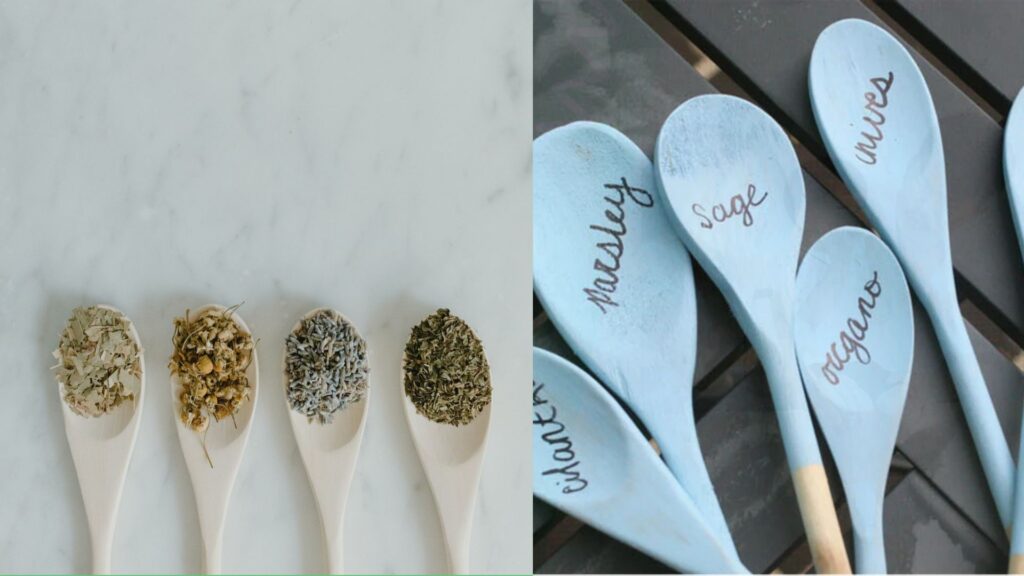
Cost: free to $1.
Using a waterproof pen, write the name of the plant on an old wooden spoon and insert the handle into the pot. You no longer forget which pot is basil and which is mint thanks to the spoon bowl’s attractive large label.
17. Vertical Pallet Wood Planter

Price range: free to $5.
A blank wall can be transformed into a herb garden by screwing small pots or cans onto a piece of pallet wood. Because some pallets are chemically treated and shouldn’t be placed close to food plants, be sure the pallet is untreated. Seek out a stamp that reads “HT,” which stands for “heat-treated” rather than “chemical.”
18. A Fairy House with a Broken Flowerpot
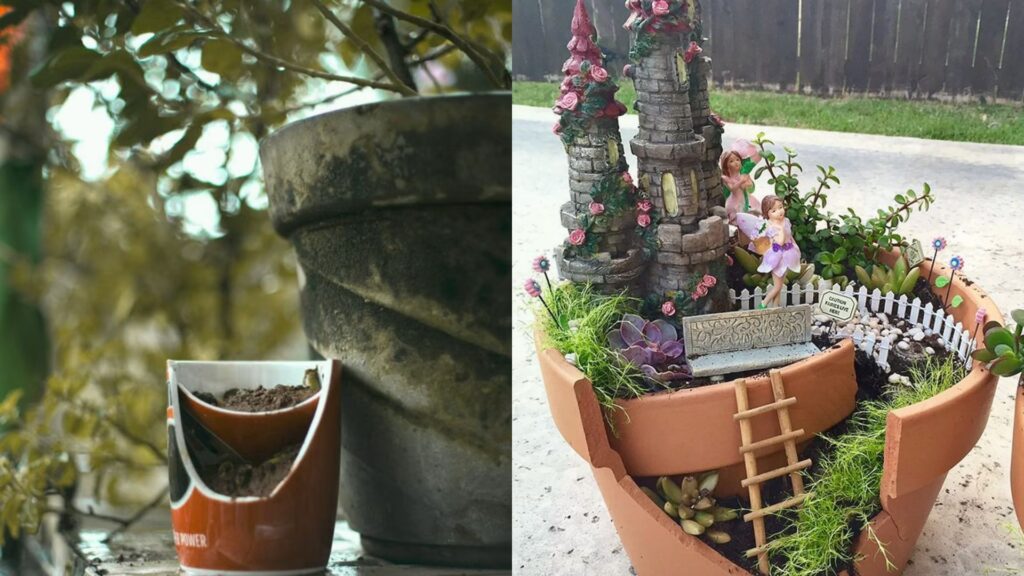
Free of charge.
Place a little door made of bark or a flat stone on the side of half a cracked terracotta pot, then cover it with moss. I’ve found that this is the fastest method for using a pot that cracked in the sun.
Lighting and Accents
19. Bottles Featuring Fairy Lights
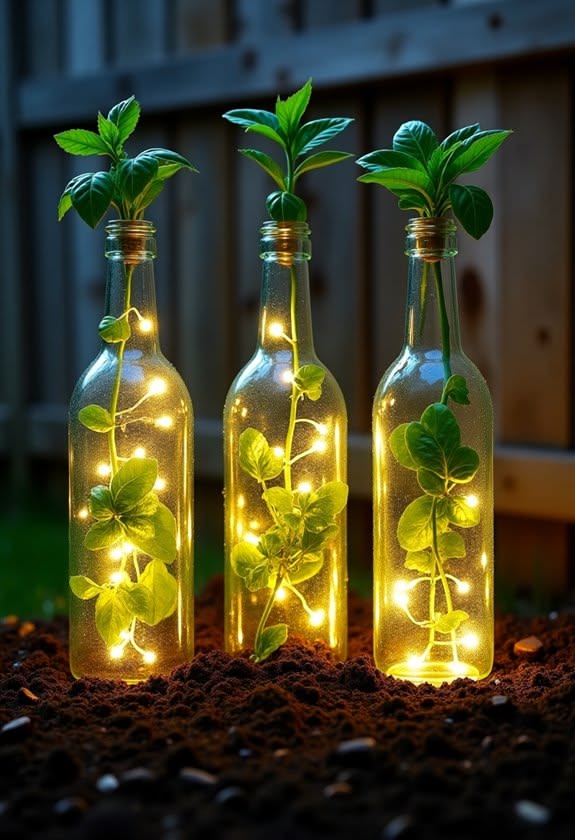
A string of lights costs less than $3.
A clean bottle or large jar may hold a string of battery-operated lights, which you can set up in a garden corner. Choose lights that have a compact battery pack, and keep the pack out of the rain.
20. Mason Jar Lanterns

Price: less than $2.
Create a handle by wrapping wire around the neck of a jar, then hang it from a branch with an LED candle or tea light inside. Because real flames and dried leaves don’t combine, use LED candles outside.
21. Painted Stones

Price: less than $2.
Smooth stones painted in faces, ladybugs, or simple hues work well as little signage and garden ornaments. To ensure that the paint endures the weather, seal them with a layer of clear exterior varnish.
22. Antique Cutlery and Key Wind Chimes

Price: free.
Use fishing line to secure forks, spoons, or old keys to a branch or a bent coat hanger. It’s a good way to use the strange keys that nobody recalls the lock for, and it makes a quiet, metallic sound.
Effective Recycling
23. A Milk Jug for Watering
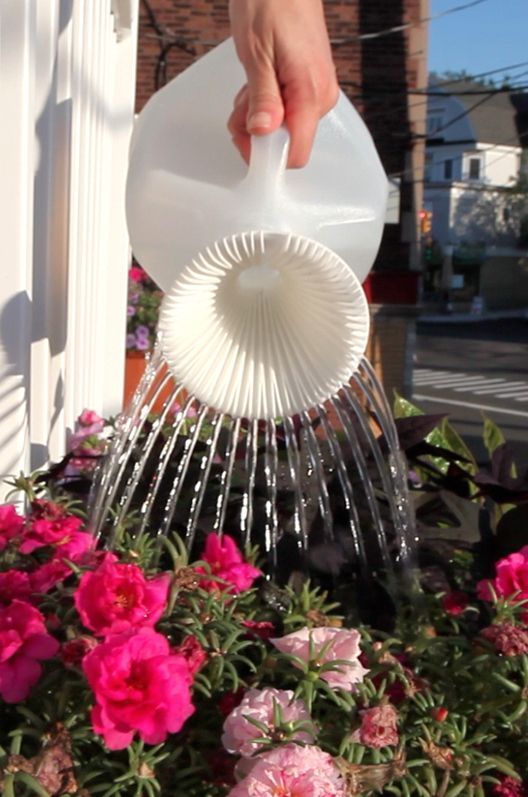
Price: free.
You can create a gentle watering can for seedlings by using a heated needle to puncture eight to ten tiny holes in the cap of a plastic milk jug, then filling the jug with water. It weighs less than a metal one as well.
24. Drip Feeder made of Plastic Bottles

Free of charge.
Make a small hole in the cap of a plastic bottle, fill it with water, and place it neck-down in the ground next a plant that is thirsty. It helps if you’re going on a weekend trip because it waters slowly for a day or two.
25. Seed Starters from Egg Cartons
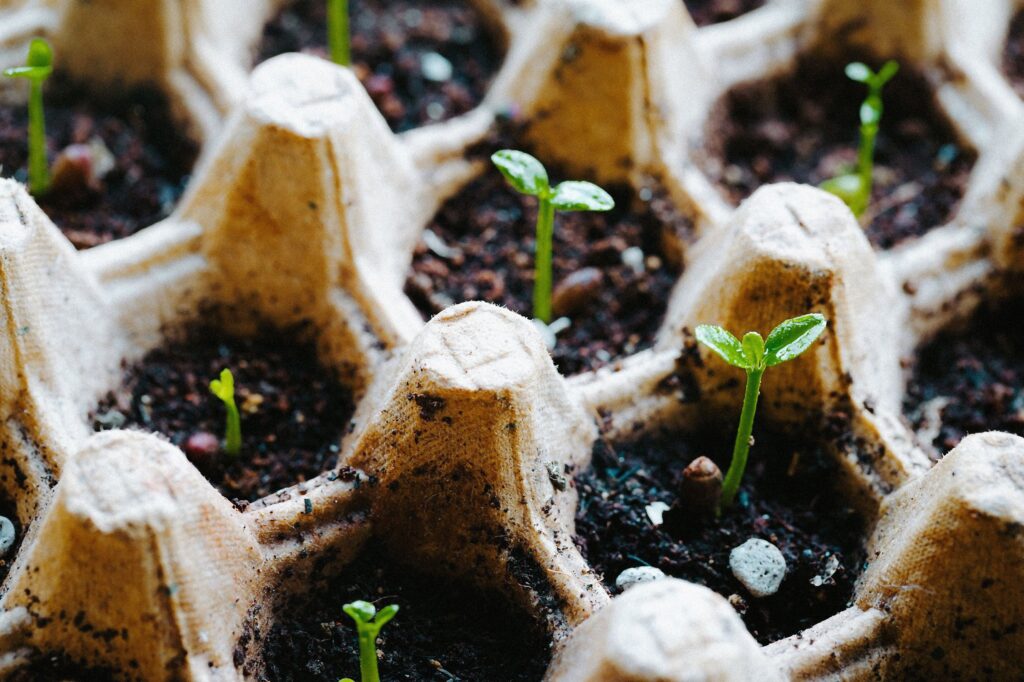
Free of charge.
One seed should be planted in each cup of a cardboard egg carton filled with seed-starting soil. The cardboard decomposes in the soil, so when the seedlings are ready, take the cups apart and plant them whole.
Frequently Asked Questions

1. What are the most affordable DIY garden ideas?
Using items you already own, such as plastic bottles, suitable tin cans, scrap wood, old pots, and disused containers, can result in some of the cheapest projects. Potting mix, plants, paint, and simple tools can be the biggest expenses.
2. How can I use recycled materials to adorn a small garden?
Make use of painted containers, hanging planters, vertical displays, reused shelving, and small garden setups. These ideas bring color and individuality while making the most of the restricted area.
3. What recycled materials are appropriate for plant growth?
It is frequently possible to reuse clean containers made of acceptable metal containers, untreated wood, clean plastics, and pre-existing plant pots. Verify that they offer sufficient drainage and are physically sound. Steer clear of containers that once contained dangerous substances.
4. Is it possible to create a lovely garden on a limited budget?
Sure. Costs can be kept down by starting with a small number of well selected plants, sharing cuttings with other gardeners, reusing appropriate materials, and multiplying plants when necessary.
5. How can I extend the life of recycled planters?
Use outdoor-appropriate materials, shield wood from excessive moisture, inspect metal containers for rust, and securely fasten hanging displays. When necessary, empty standing water containers, and fix broken supports before they become dangerous.
Final Thoughts

The cost of a garden does not determine its beauty. Everyday objects can be transformed into functional planters, eye-catching displays, and handy gardening equipment with a little imagination and work.
These 25 DIY garden ideas on a budget using recycled items provides many options for renovating a balcony, terrace, courtyard, or small garden without having to buy pricey decorations. Start with a single easy project, choose plants that fit your location, and reuse materials properly. An unimpressive spot can be gradually transformed into a cozy green haven with a few little upgrades.